I have been looking into star trails for my FMP project, what i intend to do is to visit certain spots of certain towns in lancashire and make a set of them.
Another idea i have considered is to incorporate moving image into my project and make a time-lapse film..
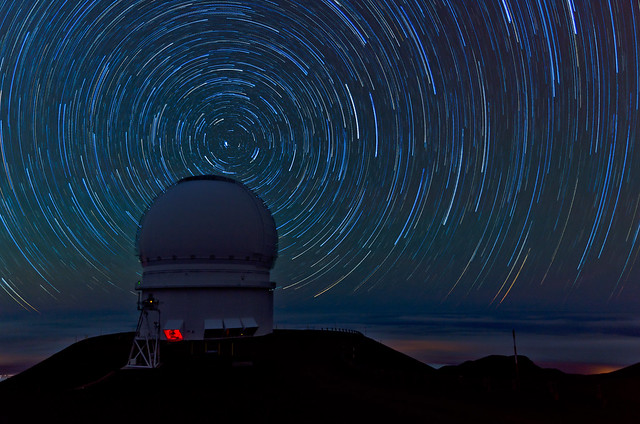
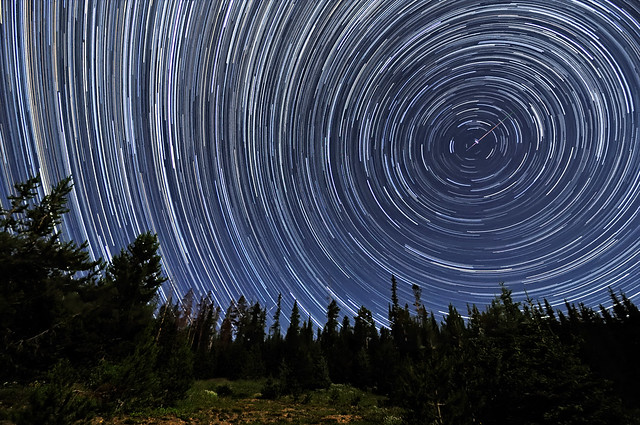
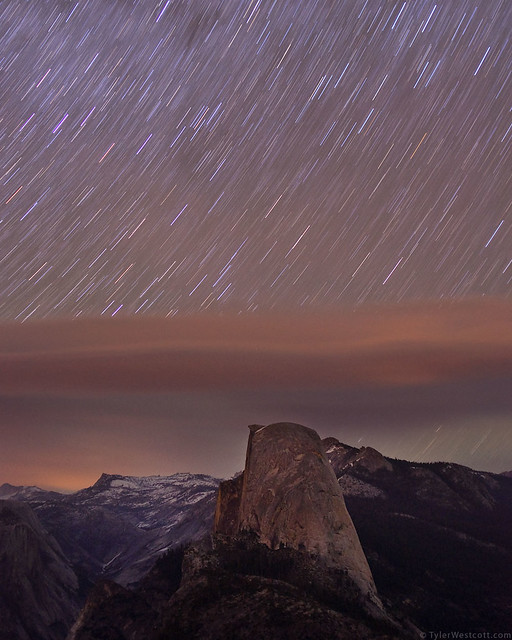
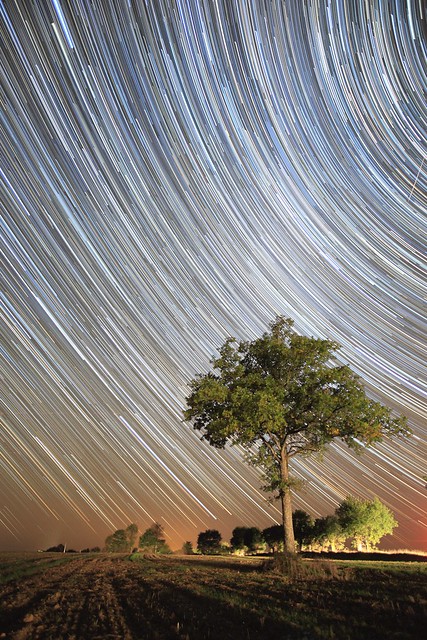
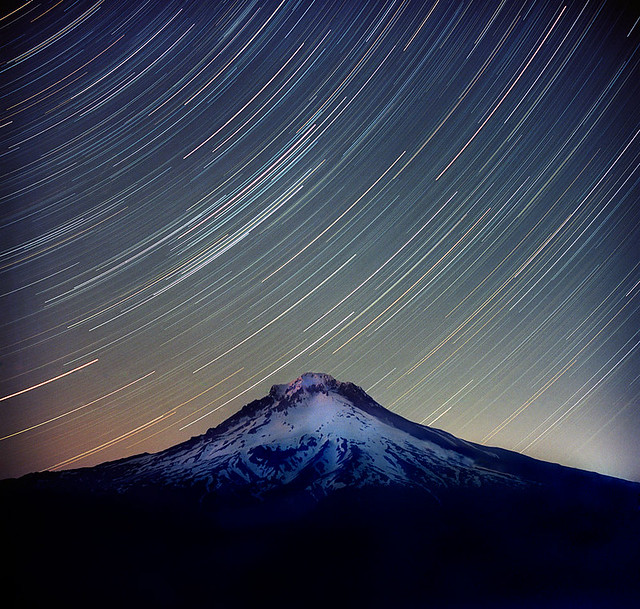
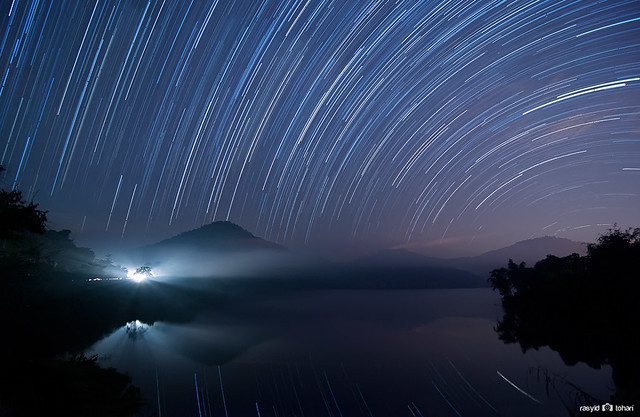
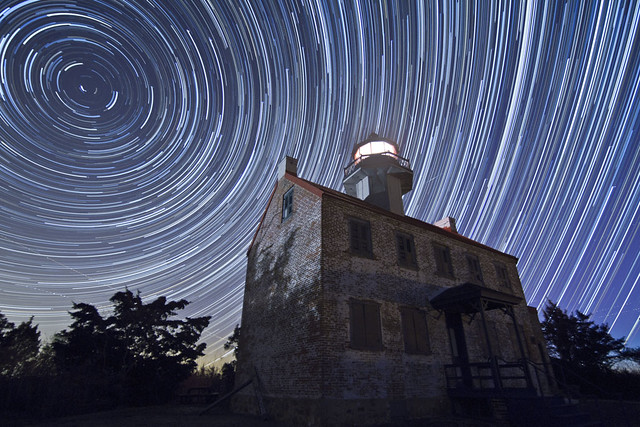
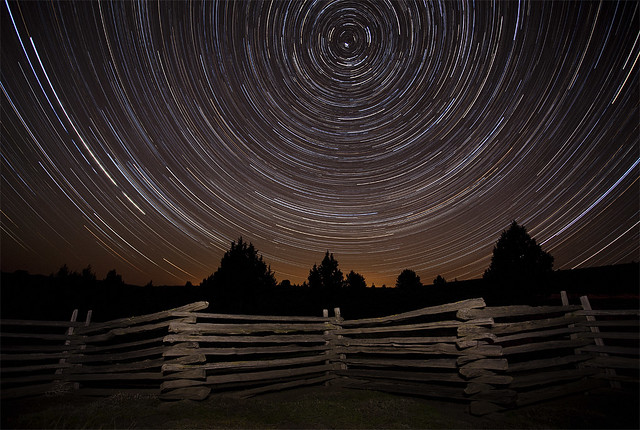
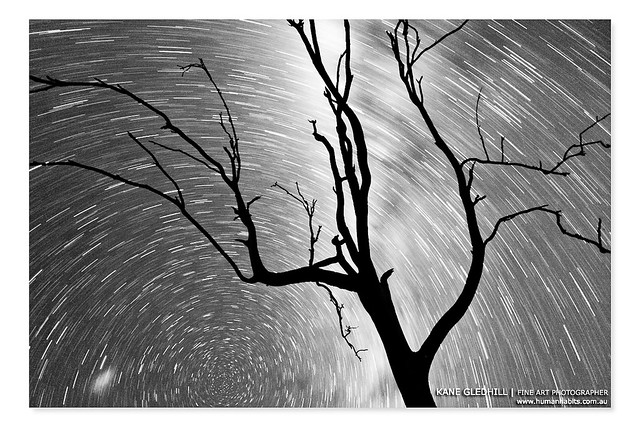
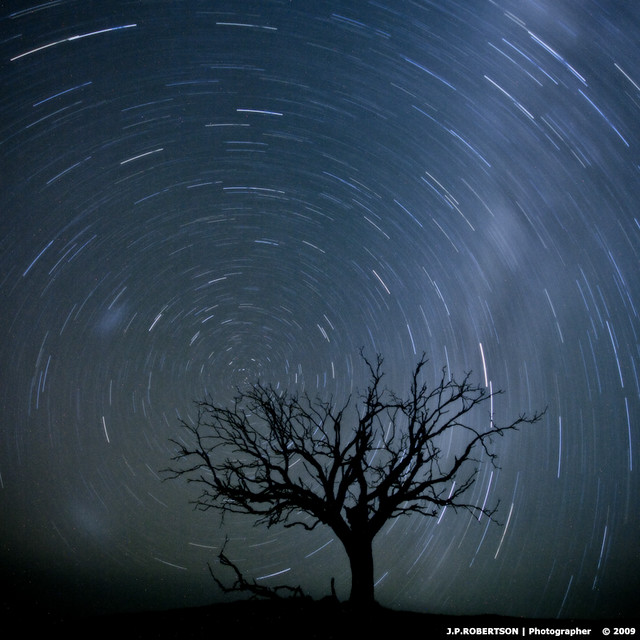
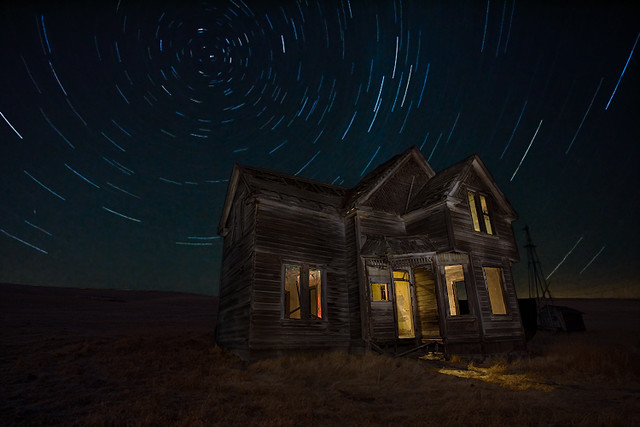
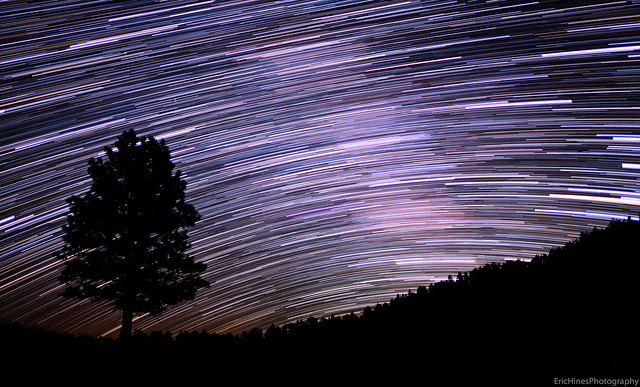
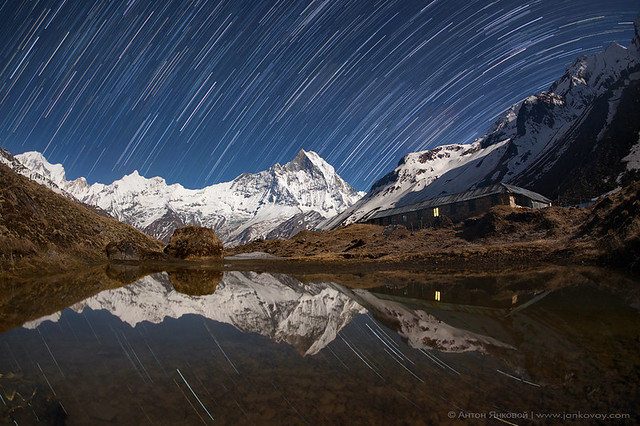
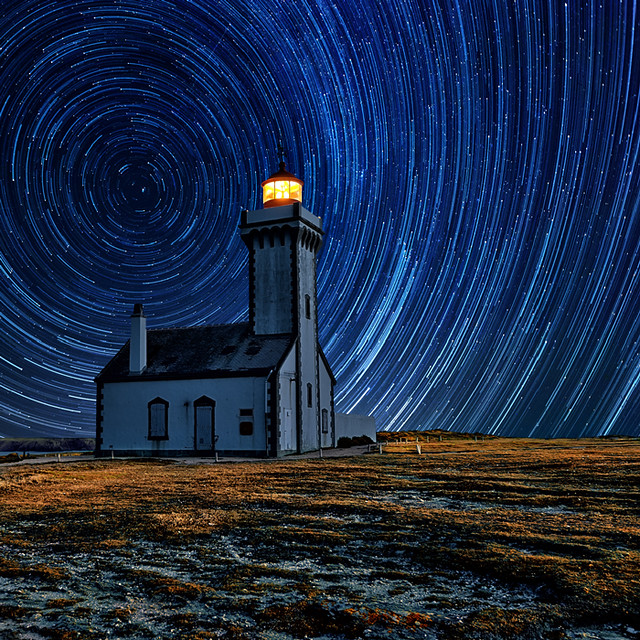
A star trail is a type of photograph that utilizes long-exposure times to capture the apparent motion of stars in the night sky due to the rotation of the Earth. A star trail photograph shows individual stars as streaks across the image, with longer exposures resulting in longer streaks. Typical exposure times for a star trail range from 15 minutes to several hours, requiring a 'bulb' setting on the camera to open the shutter for a longer period than is normal.
What you need:
- Camera (obviously)
- Remote shutter release
- Tripod
- Clear skies
- Adobe Bridge (optional but highly recommended), and Photoshop
- Time (lots of it)
Firstly, you want to get as far away from light pollution as you can; luckily, some kind soul has taken the time to put together a REALLY great website just for this purpose and it can be found here. The map is pretty self explanatory; bright colors are bad, dark colors are good.
Once you find yourself a nice dark corner of the world, the next thing you need to be aware of are how clear the skies will be, this includes the current moon phase which you can find here. You want to choose a night with the least amount of moonlight, as this will make the stars appear much brighter.
Finally, once you know your location, you want to make sure you have a cloud free night otherwise you will be photographing cloud trails instead of star trails, once again, there is a tool for that! This website provides clear sky charts for many locations across North America that let you know where and when to find a cloud free sky. The chart may be a it daunting, but it is actually very simple, here is a quick example:
The Shooting
Now that all the planning has been taking care of, we can talk about shooting
First, you will want to firmly set up your tripod so that it wont move or get blown over by the wind. For star trails you want to shoot on manual mode so there is no change in exposure between photos with a 30-second exposure. The ISO speed and aperture will change depending on which lens you are shooting with.
Here is a list of settings you would need to use at several common apertures to get a 30 second exposure:
f/1.4 and ISO400 = 30s
f/2.8 and ISO1600 = 30s
f/4.0 and ISO3200 = 30s
f/5.6 and ISO6400 = 30s
It goes without saying (but I’m going to say it anyways) you really want to try to get your hands on the fastest lens you can (largest aperture, smallest “F” number). These are just a good base to start with, once you frame your shot and take a few test shots, you will probably need to play around with the ISO to get the proper exposure.
Once you have your shot framed and settings dialed in, it is time to break out the remote shutter control. First make sure that your camera is set to drive mode so it will take consecutive shots instead of a single frame, plug in the remote and let the camera take pictures on its own for 30 min to a few hours depending on how long you want the star trails to be.
If you are taking the ghetto route because you don’t have a remote (like I have many, many times) use the duct tape to tape down your shutter button, and let the camera take photos. You should end up with a minimum of 50 photos (25 minutes) to several hundred (hours).

0 comments:
Post a Comment